Measurement techniques for in-line quality control

Description

Quality control in production lines is based on the analysis of data generated by measuring instruments that observe characteristic quantities of the product and / or of the process. Today, with a view to achieving Zero-Defect Manufacturing (ZDM), quality control is distributed on the line, it is not performed only at the end of the line; this in order to detect the occurrence of defects as soon as possible and possibly take the necessary actions to bring the system back to production within the specifications.
The level of confidence of the diagnoses made by a quality control station depends on the uncertainty of the measured data; therefore the development of measurement techniques for quality control is a fundamental aspect. Quantitative data on physical quantities arise from measurement processes.
The research is therefore oriented towards the study of advanced solutions for on-line measurement. Particular attention is paid to non-contact measurement techniques, mainly based on electro-optical technologies (vision in various bands of the spectrum from UV to IR, interferometry, optical sensors) or on vibro-acoustic measurement techniques (accelerometry, laser Doppler vibrometry, microphones and microphone antennas) or on ultrasonic techniques (contact or non-contact, laser-ultrasonics). The research is oriented to the development of “smart” measurement systems, that is with adaptive, flexible, reconfigurable behaviors, capable of self-calibration, self-diagnosis; this with the aim of managing the measurement uncertainty in the complex and noisy industrial environments of the production lines, both in the manufacturing context and in the process industry. Integration of measurement systems with robots and attention to the effects of man-in-the-loop (for example hand held instruments used by operators) are part of the research being conducted in the laboratory.
The research group has design skills, both hardware and software, and is able to conduct applied research, prototype development in the laboratory and validation in an industrial environment, up to a TRL = 7.
Significant examples of research projects on the subject of quality control measurements in the production line are:
  • European project  ( FP7) GRACE – Integration of process and Quality Control using Multi-Agent Technology
  • European project (Horizon 2020) GO0DMAN – Agent Oriented Zero Defect Multi-Stage Manufacturing

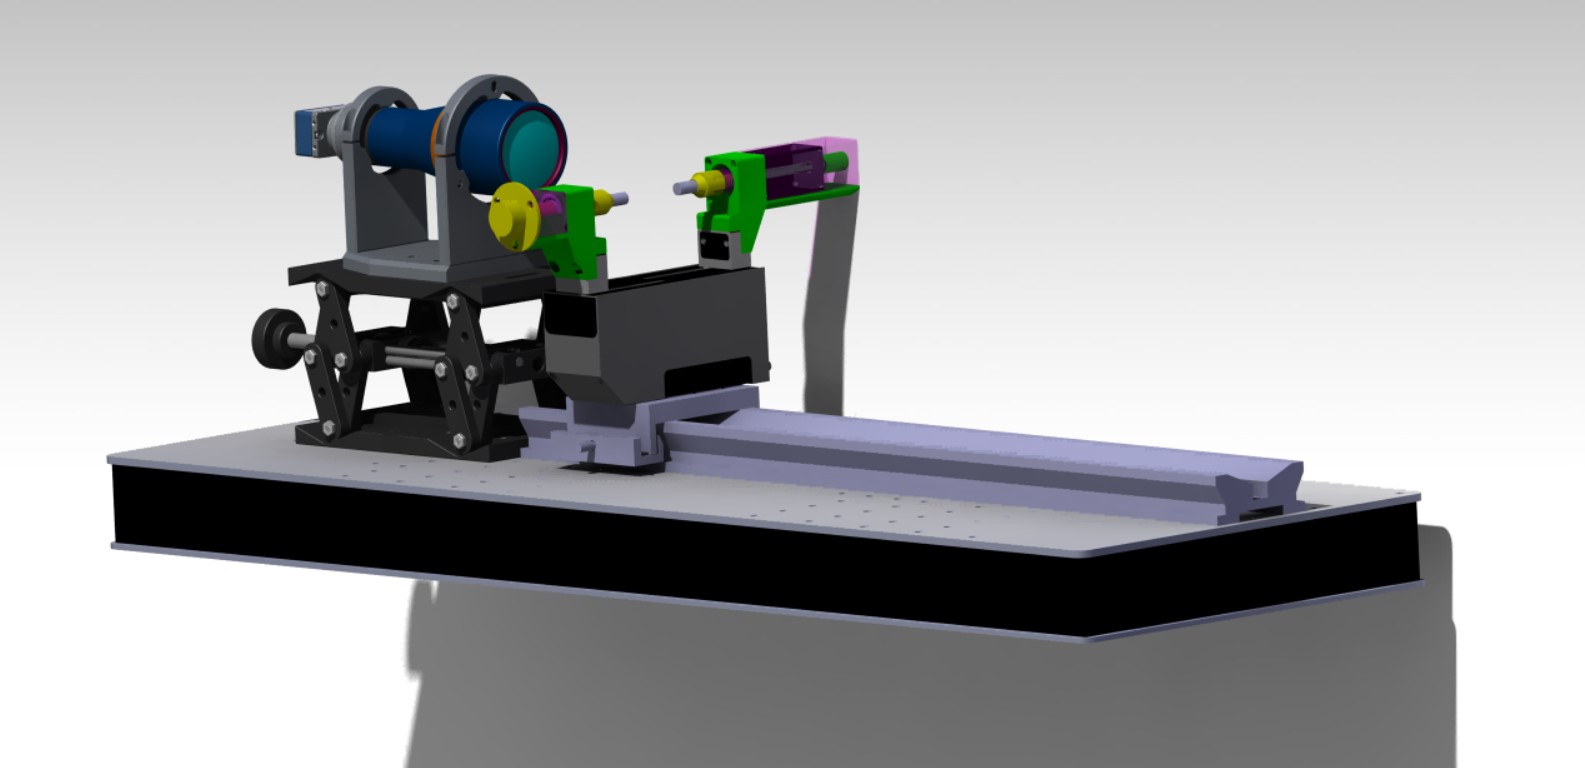
Telecentric vision system with internal lighting for burr inspection in turned cylindrical parts

Prototype of laser scanner integrated in smart-phone to measure the gap & flush in the production line

Laboratories

The laboratories mainly active on this research theme are:

Publications
  1. N.Paone, L.Scalise, G.Stavrakakis, A.Pouliezos, “Fault detection for quality control of house-hold appliances by non-invasive laser Doppler technique and likelihood classifier”, Measurement, vol.25, pp. 237-247, 1999, ed. Elsevier Science Ltd., Oxford, UK.
  2. C. Cristalli, N. Paone, R.M. Rodrıguez, “Mechanical fault detection of electric motors by laser vibrometer and accelerometer measurements”, Mechanical Systems and Signal Processing vol. 20 (2006) pp. 1350–1361, ed- Elsevier.
  3. P.Castellini, L.Stroppa, N.Paone, “Laser sheet scattered light method for industrial measurement of thickness residual stress distribution in flat tempered glass”,  Optics & Lasers in Engineering, vol.50, pp. 787-795, ed. Elsevier Science Ltd., Northern Ireland, doi:10.1016/j.optlaseng.2011.12.008, 2012.
  4. G.Agostinelli, N.Paone, “Uncertainty of diagnostic features measured by laser vibrometry: the case of optically non-cooperative surfaces”,Optics & Lasers in Engineering, vol.50, pp. 1804-1816, ed. Elsevier Science Ltd., Northern Ireland, doi: 10.1016/j.optlaseng.2012.06.014, 2012
  5. P Castellini, S Cecchini, L Stroppa and N Paone, Adaptive illumination through spatial modulation of light intensity and image inversion, Measurement Science and Technology, vol.24, n.5., doi:10.1088/0957-0233/24/5/055401, 2013
  6. S.Serafini, N.Paone, P.Castellini, “Agent-based station for on-line diagnostics by self-adaptive Laser Doppler Vibrometry,” Review of Scientific Instruments, vol. 84, issue n. 12, Article number 121703, ed. American Institute of Physics, Argonne, Illinois, doi:10.1063/1.4845475, 2013.
  7. M.A.Montironi, P. Castellini, L. Stroppa, N. Paone, “Adaptive autonomous positioning of a robot vision system: application to quality control on production lines”, Robotics and Computer Integrated Manufacturing, vol.30, n.5, pp. 489-498, doi: 10.1016/j.rcim.2014.03.004, 2014.
  8. P.Castellini, S.Cecchini, L.Stroppa, N.Paone, “Optimization of spatial light distribution through genetic algorithms for vision systems applied to quality control”, Measurement Science and Technology,  Volume 26,   Issue  2,  025401 (17pp), ed. IOP Publishing, doi:10.1088/0957-0233/26/2/025401, 2015
  9. L. Stroppa, P. Castellini, N. Paone, Self-Optimizing Robot Vision for on-line Quality Control, Experimental Techniques, vol. 40(3), pp. 1051-1064, ed. John Wiley & Sons, Ltd,, doi: 10.1007/s40799-016-0103-z, 2015
  10. P. Chiariotti, M. Fitti, P. Castellini, S. Zitti, M. Zannini, N. Paone, ”Smart quality control station for non-contact measurement of cylindrical parts based on confocal chromatic sensor”, Instrumentation & Measurement Magazine, vol. 21, issue 6, pp. 22-28, DOI: 10.1109/MIM.2018.8573589, 2018
Scientific Manager
Working group