Non-destructive testing

Description

Air-coupled ultrasonic measurement techniques 
These techniques make it possible to considerably revolutionize the approach to internal defect detection in materials by transferring inspections, which until recently had to be performed off-line and through spot checks, directly along the production line and over the whole production.
The Non Destructive Testing Lab is equipped with the most technologically advanced equipment, including a wide range of ultrasound transducers (electro-capacitive and piezoelectric), covering a frequency range from 100 kHz to 1000 kHz. 
The development of a Cartesian robot which moves the sensors along the object to be inspected makes it possible to plot a detailed map of the whole object, giving information on the size and position of the defect.
The possibility of having a coupling between the probe and the object to be inspected simply through air has allowed the application of these techniques to materials, particularly porous materials, for which contact with oil or water as a coupling means was unthinkable.
Equipment:

  • Ultrasound generation and acquisition system (The Ultran Group)
  • Ultrasound generation and acquisition system (Metalscan)
  • Ultrasound generation and acquisition system (JSR)
  • Electro-capacitive probes (190 kHz)
  • Piezoelectric probes (140, 420, 500, 700, 800, 1000 kHz).
  • Cartesian robot
  • National Instruments data acquisition and processing system.
  • ultrasound generation and acquisition system 
  • transmission probe
  • inspection object
  • reception probe
  • pair of ultrasound probes
  • carbon fibre panel with 4 defects
  • c-scan cartesian robot 
  • attenuation map of the object inspected 

The Non-Destructive Testing Lab has acquired considerable experience in ceramic materials for tile production, chipboard for the furniture industry and composite materials for aeronautic structures. These techniques are continuously developed and optimized so as to be able to use them for the quality control of items whose only prerogative to be competitive on the market is overall production quality.
Custom measurement procedures for specific applications or completely innovative systems, where the information carried by the ultrasound wave is correlated with the physical characteristics of the material so as to provide real-time monitoring, are developed. An example is the indirect measurement of the apparent density of green ceramics.

Thermographic measurement techniques 
The Non-Destructive Testing Lab is also engaged in the development of measurement procedures and application methods related to thermography, not only in non-destructive testing, but also in the environmental control field, the energy sector and production processes.
The development of new processing algorithms for thermographic images becomes fundamental for the optimization of the technique in relation to single specific application cases.
Equipment:

  • FLIR S40 Thermal infrared camera (range between 7,5 and 13 μm, FPA 320×240 pixels)
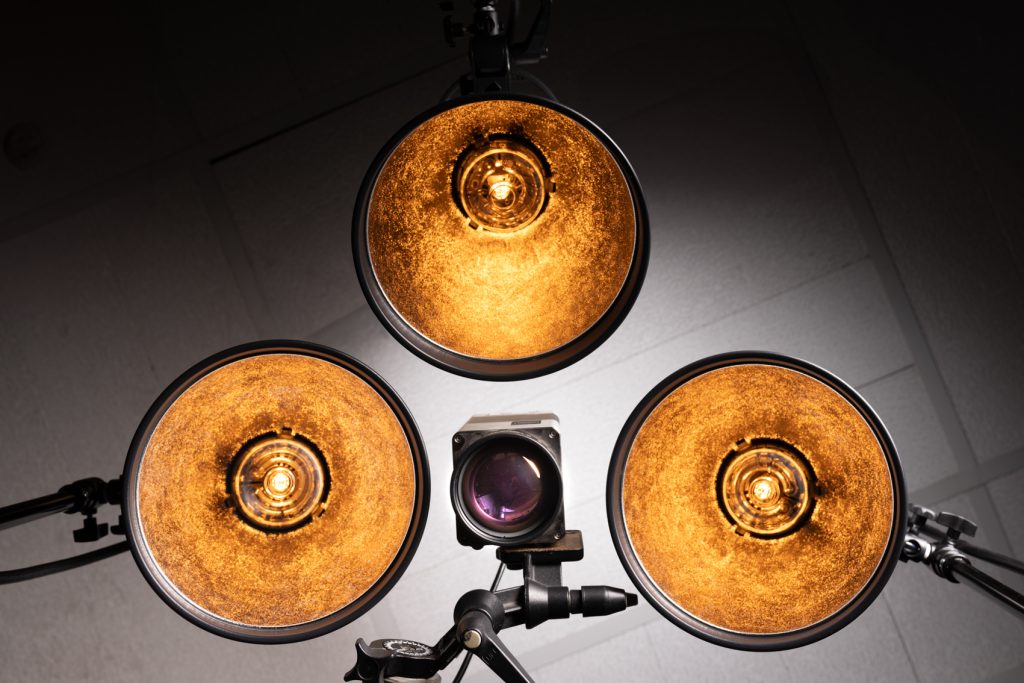
  • Active thermography test bench with halogen lamps
  • Different optics for different inspection fields
  • Active thermography test bench 
  • Defect
  • Intact area
  • Visibility time

Passive thermography 
  
Active thermography


Shearographic measurement techniques 
Shearography is a full-field optical technique which measures without contact the deformation gradient of a surface over extended regions in short time and using equipment which can be taken to the field. It fully expresses its potential on composite materials when searching for sub-surface defects of different kinds (delaminations, fractures, inclusions, impact damages). Defect, in fact, are highlighted when the surface is subjected to strains.
Despite its great potential, the technique is still not systematically applied in industrial environments because of the difficulty in analyzing the images acquired and because loading procedures are not yet univocally determined.
The Non-Destructive Testing Lab is involved in a research activity aimed at optimising loading procedures and developing algorithms to process the data acquired, so as to promote greater dissemination of the technique in different fields.
Equipment:

  • Dantec Q-800 shearography system 
  • thermal, mechanical and vacuum loading system 
  • shearography system 
  • shearography operating diagram
  • defect detection after the application of a load 


Laser ultrasonic measurement techniques 
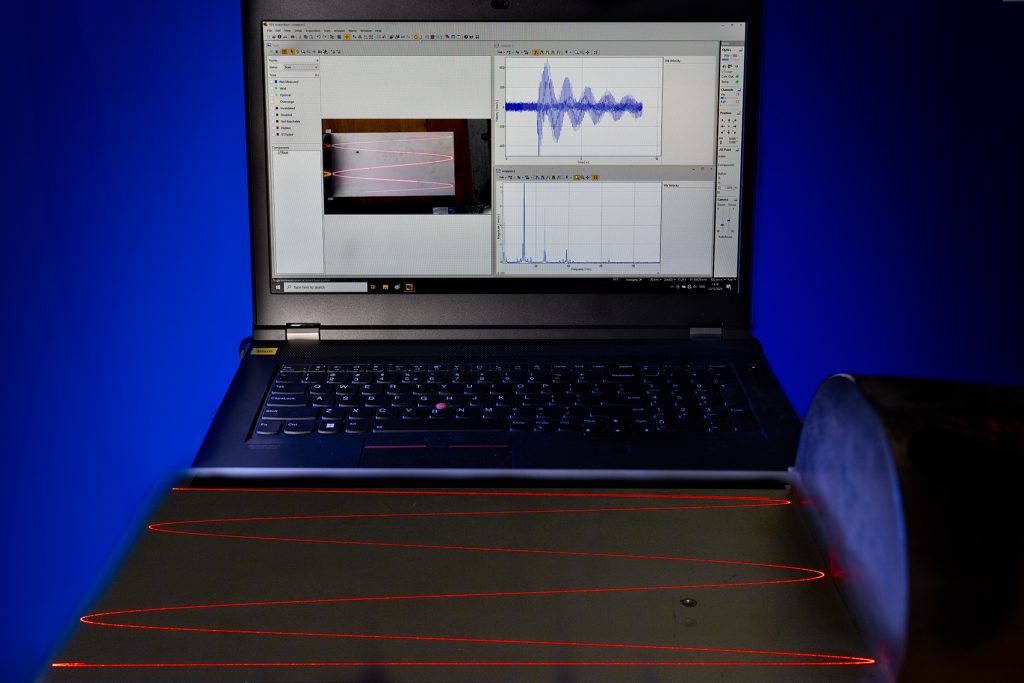
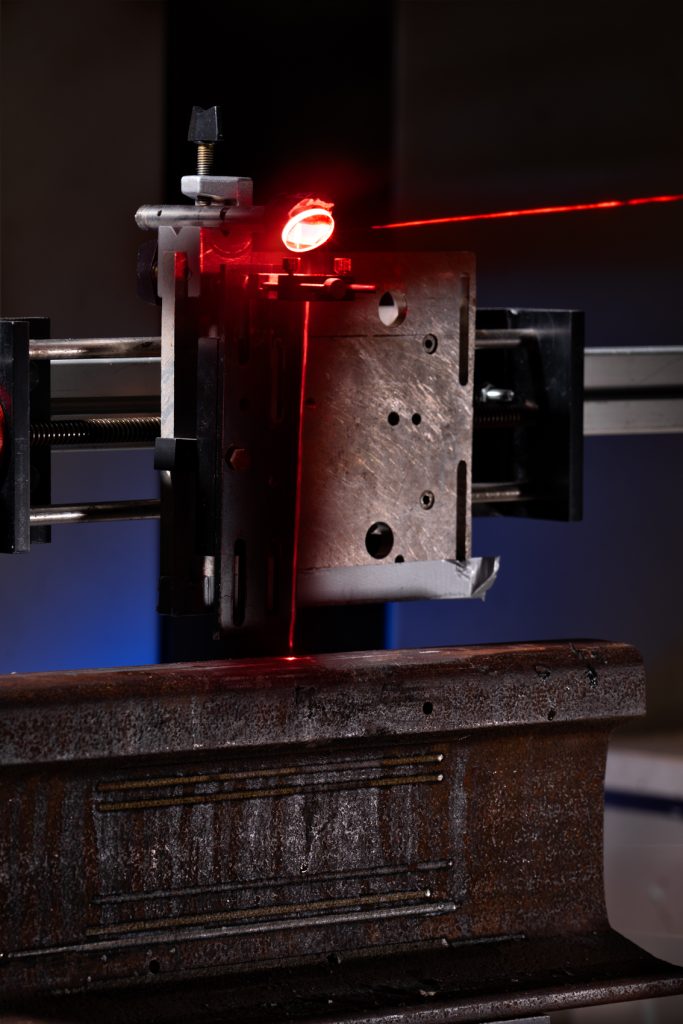
Laser ultrasonics is based on the generation of thermal waves and elastic waves (ultrasounds) which are triggered when the laser beam hits the object to be measured. The elastic waves propagate deep into the object and this is what makes this technique particularly interesting when internal defects need to be studied.
The research activity of the Lab in the field of laser ultrasonics aims at further developing the technique so as to extend its application to the inspection of different types of materials.
The ultrasonic waves generated by the laser pulse can be acquired in air by an ultrasound probe or by a laser vibrometer with a high-frequency decoder. It is possible to work both in reception and transmission.
Equipment:

  • Nd-YAG Laser (λ= 532 nm; 1 W)
  • Ultrasonic probes (piezoelectric and electro-capacitive)
  • Laser vibrometer with a high frequency decoder 
  • Thermal wave field
  • Heated surface
  • Field of ultrasonic waves generated by thermoelastic strains
  • Ultrasound probe
  • Trigger photodiode
  • Nd-YAG Laser 
  • Digital oscilloscope
  • Power supply
  • Laser ultrasonics system 

Scientific Manager